
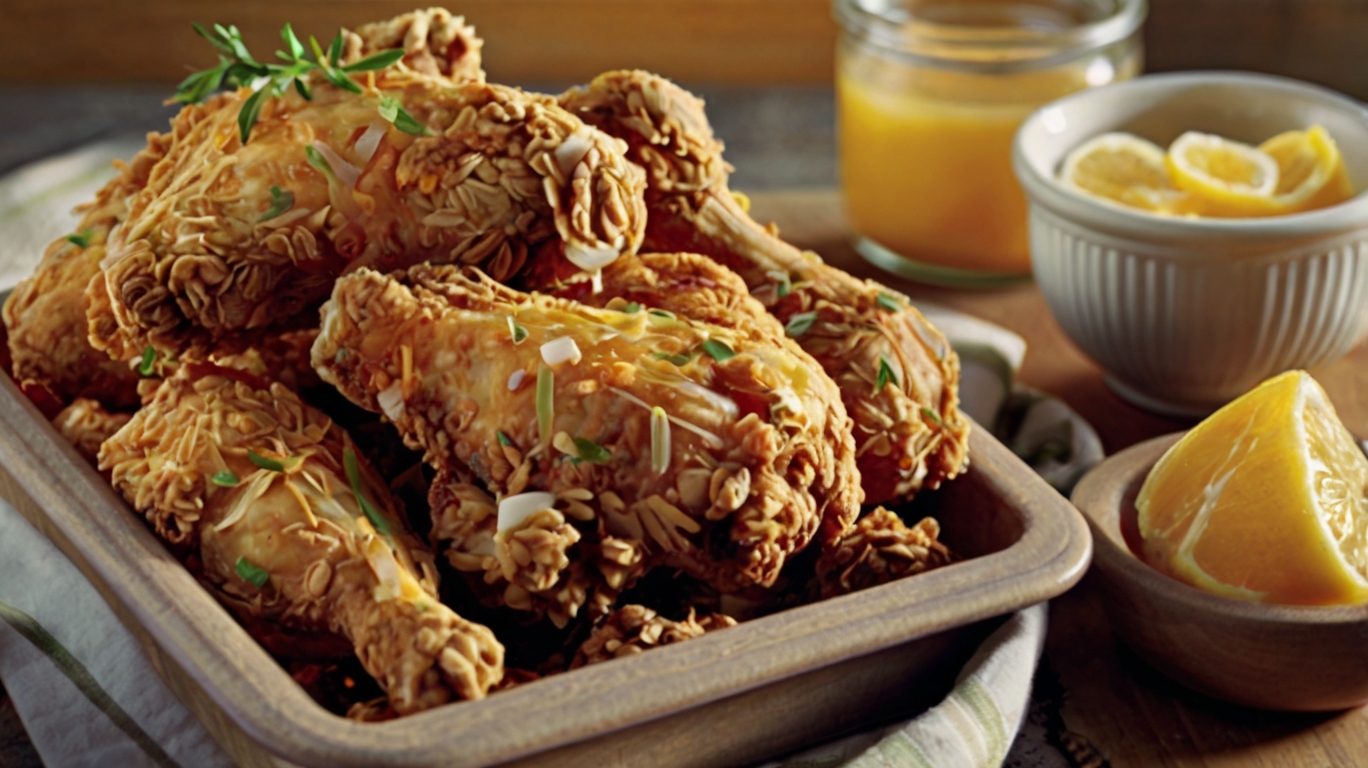
Nothing beats a plate of crispy fried chicken. When it’s hot, golden, and juicy, it brings comfort like no other.
And if you’ve ever tried the Publix Fried Chicken Recipe, you know exactly what I mean. It’s crunchy, flavorful, and always hits the spot.
The first time I had Publix fried chicken, I was hooked. It reminded me of old-school family dinners.
That crispy outside and juicy inside are just perfect. I loved it so much, I had to try making it at home.
In this blog, I’ll share everything I’ve learned. If you want that same Publix flavor, you’re in the right place!
What Is Publix Fried Chicken Recipe?
Publix fried chicken is a Southern-style classic. It’s well-known for its crispy skin and seasoned taste.
The chicken is fried to golden perfection. It’s not too spicy, but full of flavor. The meat is juicy, and the crust is crunchy.
Publix uses a secret blend of spices. Their chicken is marinated and coated in flour. Then it’s deep-fried until it’s brown and crispy. It’s that simple—and that delicious!
How Publix Fried Chicken Tastes Like
The taste is bold, but not too strong. It has a peppery kick, but it’s not hot. The crust is salty and seasoned just right. The inside is soft, moist, and flavorful.
Each bite gives a nice crunch. Then comes the juicy meat inside. It’s the perfect balance of texture and taste. That’s what makes Publix chicken special.
When Was I First Introduced to Publix Fried Chicken?
I first tried it while visiting my cousin in Florida. We stopped by Publix to grab lunch. She picked up a hot box of fried chicken. I wasn’t expecting much at first.
But one bite and I was sold. It was better than fast food. It reminded me of homemade meals from my childhood. Since then, I’ve been trying to copy it at home.
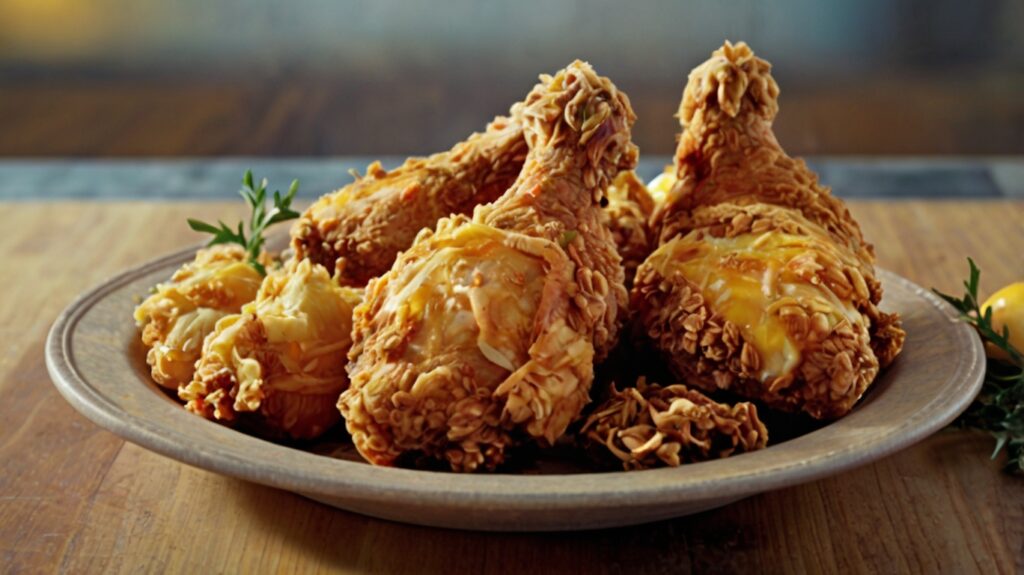
Equipment
You don’t need fancy tools. Just simple kitchen items:
- Large Mixing Bowl
- Deep Frying Pan or Deep Fryer
- Tongs or Slotted Spoon
- Thermometer (but helpful) (Optional)
- Paper Towels
- Plate or Wire Rack
Ingredients to Make the Publix Fried Chicken Recipe
You can find all of these in your local store:
- Chicken = 08 pieces (legs) (thighs) or (mix)
- Buttermilk = 02 cups
- Flour = 02 cups (all-purpose)
- Paprika = 01 tablespoon
- Salt = 01 tablespoon
- Garlic Powder = 01 teaspoon
- Onion Powder = 01 teaspoon
- Black Pepper = 01 teaspoon
- Cayenne Pepper = 1/2 teaspoon (Optional)
- Vegetable or Peanut Oil (for frying)
How to Make Publix Fried Chicken
Step by Step Instructions:
Step 1: Soak the Chicken
- Place chicken in a large bowl.
- Pour buttermilk over the chicken.
- Cover and place in the fridge.
- Let it soak for 4 hours or overnight.
Step 2: Prepare the Coating
- In a clean bowl, add flour and spices.
- Mix well until fully blended.
Step 3: Coat the Chicken
- Remove chicken from the buttermilk.
- Let extra liquid drip off.
- Roll each piece in the flour mix.
- Press gently so the coating sticks well.
Step 4: Let It Rest
- Place coated chicken on a tray.
- Let it sit for 10 full minutes.
- This step helps the crust stick better.
Step 5: Heat the Oil
- Pour oil into a deep pan.
- Heat it to 350°F.
- Use a thermometer to check the heat.
Step 6: Fry the Chicken
- Add chicken to the hot oil in batches.
- Do not crowd the pan.
- Fry each piece for 15 to 18 minutes.
- Turn halfway to cook both sides.
Step 7: Drain and Cool
- Use tongs to remove the chicken.
- Place on paper towels or a rack.
- Let it rest for 5 to 10 minutes.
Servings and Preparation Times
- Preparation Time: 10 minutes
- Cook Time: 15-20 minutes per batch
- Marinate Time: 4 to 8 hours
- Total Time: About 8 hours (including soak)
- Servings: 4 people (2 pieces each)
Nutrition Information
| Nutrient | Amount Per Serving |
| Calories | 320 kcal |
| Protein | 22 g |
| Fat | 18 g |
| Carbohydrates | 14 g |
| Fiber | 1 g |
| Sugar | 1 g |
| Sodium | 500 mg |
Recipe Tips
- Buttermilk Soak: Don’t skip this step. It keeps the chicken soft and juicy.
- Flour Coating: Let the flour stick well before frying for the best crunch.
- Pan Space: Don’t crowd the pan. It cools the oil too fast.
- Oil Temperature: Use a thermometer to keep the oil at 350°F.
- Batch Frying: Fry in small batches for even cooking and crispy skin.
FAQs
Can I use chicken breast?
Yes, but it may dry out. Thighs are better.
Can I bake instead of fry?
You can, but it won’t be the same crispy.
What oil works best?
Peanut or vegetable oil is ideal for frying.
Can I make it gluten-free?
Yes, use gluten-free flour for coating.
What To Serve with Publix Fried Chicken
Publix fried chicken goes well with many sides. Here are a few tasty options:
- Mashed Potatoes: Creamy and smooth, they go well with crispy chicken.
- Coleslaw: Cold, crunchy, and a little tangy—it balances the flavors.
- Mac and Cheese: Cheesy and rich, it’s a perfect comfort food combo.
- Cornbread: A little sweet and soft—great with fried chicken.
- Green Beans: Add a fresh and healthy side to your meal.
These sides make your chicken meal complete.
Storage Tips
Got leftovers? No worries! Here’s how to store them:
- Fridge: Keep in an airtight box for up to 3 days.
- Freezer: Freeze pieces in a sealed bag for up to 1 month.
- To Reheat: Use an oven at 350°F to bring back the crisp.
- Avoid the Microwave: It can make the crust soggy.
Concluding Remarks
This Publix Fried Chicken recipe brings joy to any meal. It’s simple, full of flavor, and easy to make at home. Whether it’s for a family dinner, picnic, or weekend treat, it never fails to please.
Give this recipe a try and enjoy restaurant-style chicken in your own kitchen. Once you do, you’ll want to make it again and again.
Thanks For Reading—and Happy Cooking with Foodie Fizz!
More Amazing Recipes
Publix Fried Chicken Recipe
Equipment
- Large Mixing Bowl
- Deep Frying Pan or Deep Fryer
- Tongs or Slotted Spoon
- Thermometer (but helpful) (Optional)
- Paper Towels
- Plate or Wire Rack
Ingredients
- Chicken = 08 pieces legs (thighs) or (mix)
- Buttermilk = 02 cups
- Flour = 02 cups all-purpose
- Paprika = 01 tablespoon
- Salt = 01 tablespoon
- Garlic Powder = 01 teaspoon
- Onion Powder = 01 teaspoon
- Black Pepper = 01 teaspoon
- Cayenne Pepper = 1/2 teaspoon Optional
- Vegetable or Peanut Oil for frying
Instructions
Step by Step Instructions:
Step 1: Soak the Chicken
- Place chicken in a large bowl.
- Pour buttermilk over the chicken.
- Cover and place in the fridge.
- Let it soak for 4 hours or overnight.
Step 2: Prepare the Coating
- In a clean bowl, add flour and spices.
- Mix well until fully blended.
Step 3: Coat the Chicken
- Remove chicken from the buttermilk.
- Let extra liquid drip off.
- Roll each piece in the flour mix.
- Press gently so the coating sticks well.
Step 4: Let It Rest
- Place coated chicken on a tray.
- Let it sit for 10 full minutes.
- This step helps the crust stick better.
Step 5: Heat the Oil
- Pour oil into a deep pan.
- Heat it to 350°F.
- Use a thermometer to check the heat.
Step 6: Fry the Chicken
- Add chicken to the hot oil in batches.
- Do not crowd the pan.
- Fry each piece for 15 to 18 minutes.
- Turn halfway to cook both sides.
Step 7: Drain and Cool
- Use tongs to remove the chicken.
- Place on paper towels or a rack.
- Let it rest for 5 to 10 minutes.
Servings and Preparation Times
- Preparation Time: 10 minutes
- Cook Time: 15-20 minutes per batch
- Marinate Time: 4 to 8 hours
- Total Time: About 8 hours (including soak)
- Servings: 4 people (2 pieces each)
Notes
- Buttermilk Soak: Don’t skip this step. It keeps the chicken soft and juicy.
- Flour Coating: Let the flour stick well before frying for the best crunch.
- Pan Space: Don’t crowd the pan. It cools the oil too fast.
- Oil Temperature: Use a thermometer to keep the oil at 350°F.
- Batch Frying: Fry in small batches for even cooking and crispy skin.

I’m Sophia Olivia, but you can call me Sophy. Welcome to FoodieFizz.com, your fun and friendly food recipe site! With over 5 years of kitchen adventures, I love creating simple and tasty recipes that brighten your day. From quick bites to comforting meals, Foodie Fizz is all about making cooking enjoyable and easy for everyone. Let’s cook up some delicious magic and celebrate every flavorful moment together!